Build Digital Experiences That Drive Results
We craft high-performance websites, powerful web applications, and data-driven marketing strategies that transform your business and accelerate growth.
500+
Projects Delivered
98%
Client Satisfaction
150+
Happy Clients
Full-Stack Development
Laravel, React, Next.js & Node.js
SEO & Marketing
Data-driven strategies for growth
WordPress Expert
Custom themes & WooCommerce
DevOps & Cloud Infrastructure
AWS, CI/CD & Managed Hosting
Trusted by Leading Brands


Our Services
Everything You Need to Succeed Online
From development to marketing, we provide end-to-end solutions that drive real business results.
Web Development
Custom web applications built with Laravel, React, and Next.js for scalability and performance.
WordPress Solutions
Custom WordPress themes, WooCommerce stores, and performance optimization.
SEO Services
Data-driven SEO strategies to boost your organic visibility and traffic.
Digital Marketing
Comprehensive digital marketing including social media, PPC, and content strategy.
DevOps & Cloud
AWS infrastructure, CI/CD pipelines, and cloud optimization services.
Managed Hosting
Secure, high-performance hosting solutions with 24/7 expert support.
The WebAnaya Advantage
We combine technical expertise with business understanding to deliver solutions that drive real results.
Fast Delivery
We deliver projects on time without compromising quality. Our agile approach ensures rapid development.
Secure & Reliable
Security-first approach with best practices. Your data and applications are protected 24/7.
Dedicated Team
Get a dedicated team of experts working exclusively on your project from start to finish.
24/7 Support
Round-the-clock support to ensure your applications run smoothly without interruptions.
Quality Assured
Rigorous testing and QA processes ensure bug-free, high-performance deliverables every time.
Transparent Pricing
No hidden costs. Clear pricing with detailed breakdowns so you know exactly what you pay for.
How We Work
Our proven 5-step process ensures successful project delivery every time.
Discovery
We understand your business goals, target audience, and technical requirements through detailed discussions.
Design
Our designers create wireframes and visual designs that align with your brand and user expectations.
Development
Our engineers build your solution using modern technologies with clean, maintainable code.
Launch
After thorough testing, we deploy your project and ensure a smooth, successful launch.
Support
We provide ongoing maintenance, updates, and support to keep your project running optimally.
Our Work
Projects That Drive Results
Explore our portfolio of successful projects across various industries.

ZeroComp
Zero Complexity in Legal & Compliance - From company registration to GST filing, trademark protection to legal documentation — we handle all your business compliance needs so you can focus on growth.

SocietyNx - Society Management Application
SaaS-based society management application built on Laravel TALL Stack with AI-powered features.

TourPackages91
A headless travel website for lead generation built on Next.js.

Umang Nursing Hospital
Professional healthcare website for a leading nursing hospital in Ulhasnagar.

W3Mela
Premium digital product marketplace selling Themes, Web Apps, Mobile Apps, Plugins, and Modules with a modern headless architecture.

Certifyera Consultancy
End-to-end digital solution for a consultancy firm using Laravel TALL stack.
Testimonials
What Our Clients Say
Don't just take our word for it. Here's what our clients have to say.
"WebAnaya transformed our online presence completely. Our leads have increased by 300% since launch. They understood our industry and delivered exactly what we needed."

Rajesh Sharma
Director, Shubham RMC
"The team delivered beyond expectations. Our e-commerce site now handles 10x the traffic with better performance. Sales have never been better!"

Priya Patel
CEO, Fashionista Retail
"Professional, responsive, and technically excellent. WebAnaya is our go-to development partner. They truly understand fintech requirements."

Amit Kumar
CTO, FinServe Solutions
"Their SEO expertise helped us rank #1 for our primary keywords within 6 months. The ROI on our digital marketing investment has been incredible."

Sunita Reddy
Marketing Head, EduLearn Institute
"From concept to launch, WebAnaya guided us through every step. Our patient portal has revolutionized how we engage with patients."

Dr. Sanjay Mehta
Founder, HealthPlus Medical
"The logistics platform they built has transformed our operations. Deliveries are faster, costs are lower, and customers are happier."

Vikram Singh
Operations Head, SwiftMove Logistics
Latest Insights
Stay updated with our latest news, technology trends, and company updates.
WhatsApp has become the default communication channel for customers, and businesses are rapidly shifting their sales, support, and marketing to WhatsApp at scale. WappZone was created to solve this exact need, and Webanaya is the technology team behind the platform. What Is WappZone? WappZone is a WhatsApp Business API platform that helps teams engage, support, […]
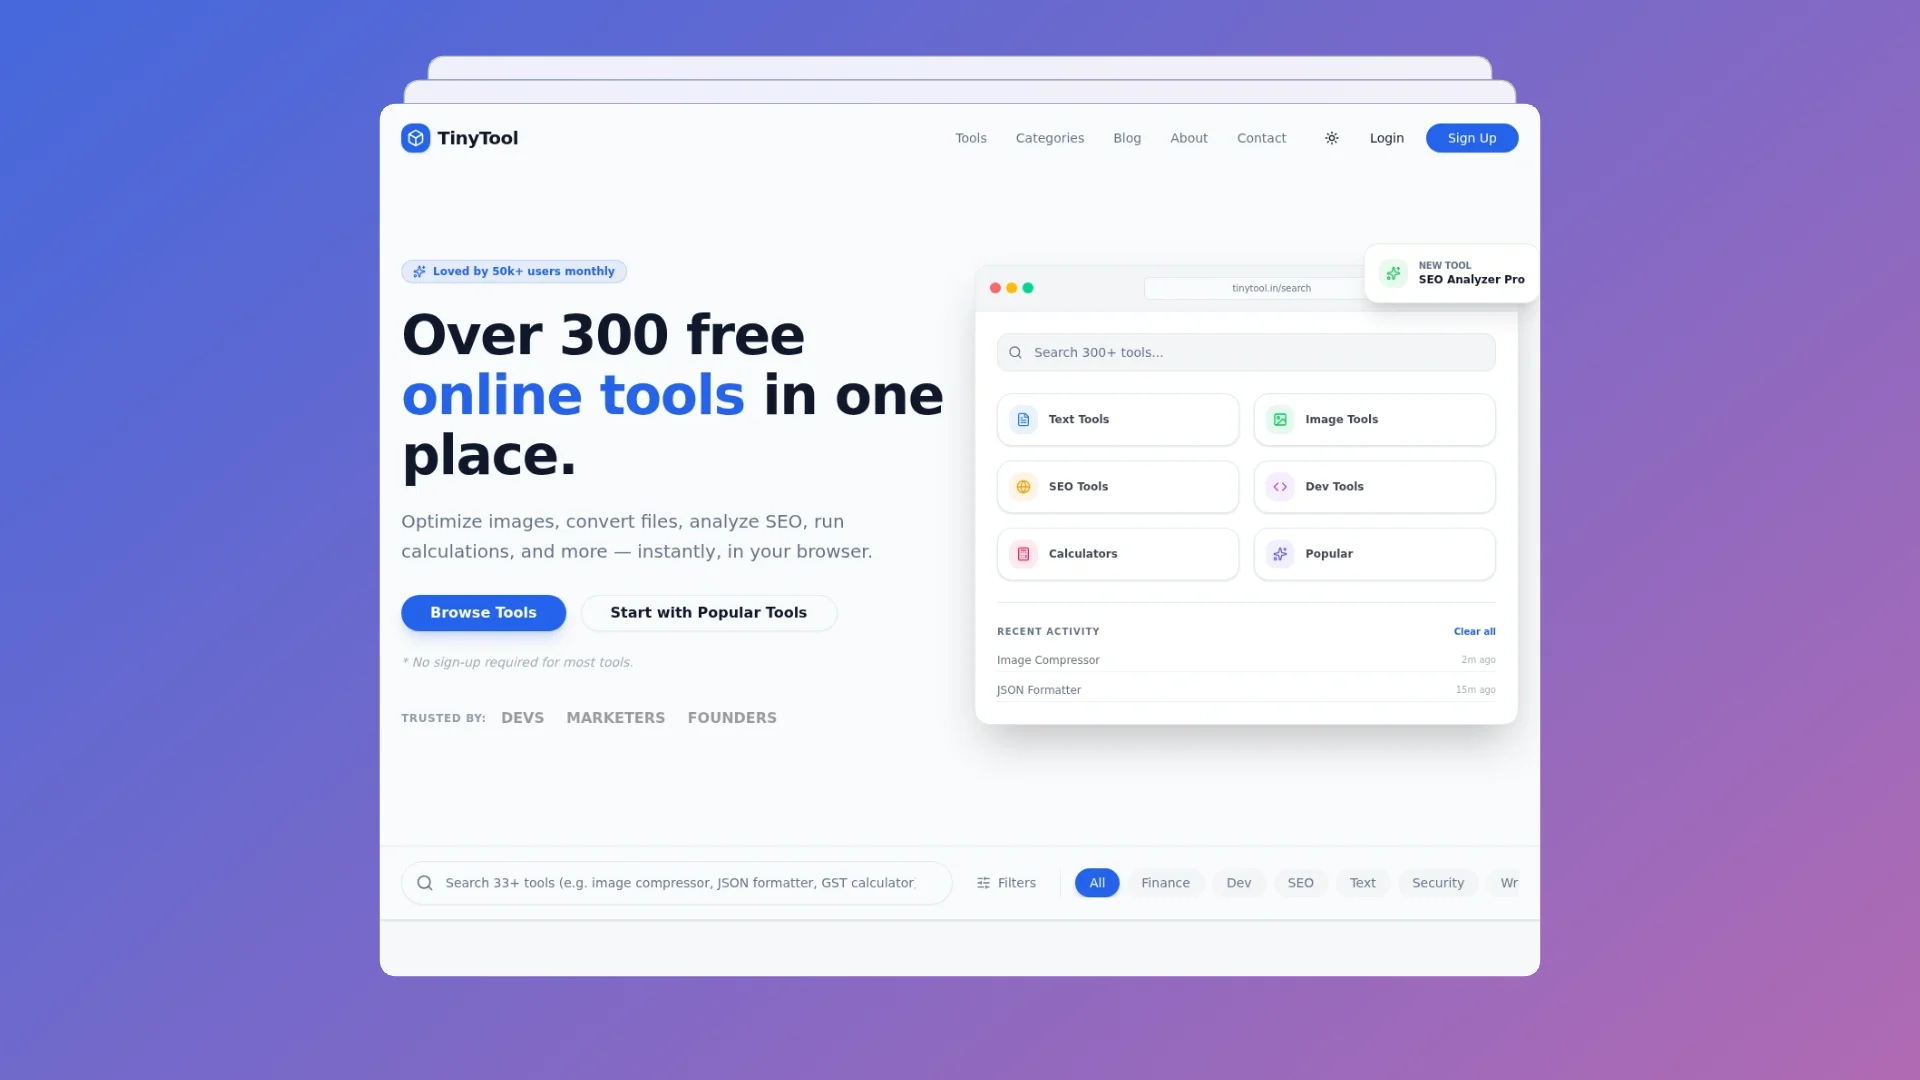
Introduction: The Evolution of Online Tool Platforms In today’s fast-paced digital landscape, web developers, SEO professionals, entrepreneurs, and content creators face a constant challenge: managing multiple tools for different tasks. Before comprehensive platforms like TinyTool emerged, professionals had to juggle dozens of browser tabs, subscriptions, and separate applications to handle everything from image optimization to […]
WappSendy.in, a cutting-edge bulk WhatsApp message-sending platform, is proud to announce its official launch, ushering in a new era of business communication. With its powerful features, intuitive interface, and unparalleled efficiency, WappSendy.in aims to simplify and streamline the process of reaching a large audience through the immensely popular messaging platform, WhatsApp.
Ready to Transform Your Digital Presence?
Let's discuss your project and create something amazing together. Get a free consultation and quote today.


